
Widget Flutter Lanjutan

·461 words·3 mins· 0
Mobile Developer Flutter Widget Dart Dasar Flutter
iCourse
Author
iCourse
~ lakukan yang terbaik, hidup hanya satu kali ~
Mobile Developer - This article is part of a series.
Part 6: This Article

Widget Flutter

  • Font Family
  • List & List View
  • Animated Container & Gesture Detector
  • Flexibel Widget
  • Stack
  • Image

Font Family #

flutter:
  uses-material-design: true
  fonts:
    - family: Open Sans
      fonts:
        - asset: fonts/OpenSans-VariableFont_wdth,wght.ttf

List & List View #

 1
 2
 3
 4
 5
 6
 7
 8
 9
10
11
12
13
14
15
16
17
18
19
20
21
22
23
24
25
26
27
28
class _MainAppState extends State<MainApp> {
  List<Widget> widgets = [];

  _MainAppState() {
    for (int i = 0; i < 40; i++) {
      widgets.add(
        Text(
          "Ini angka ke - $i",
          style: const TextStyle(fontSize: 30),
        ),
      );
    }
  }

  @override
  Widget build(BuildContext context) {
    return MaterialApp(
      home: Scaffold(
        appBar: AppBar(
          title: const Text("Berkah IT"),
        ),
        body: ListView(
          children: widgets,
        ),
      ),
    );
  }
}

Animated Container && Gesture Detector #

Animated Container : Sebuah widget container yang memiliki animasi.

Gesture Detector : Sebuah widget yang akan mendeteksi gerakan atau sentuhan jari kepada layar handphone.

 1
 2
 3
 4
 5
 6
 7
 8
 9
10
11
12
13
14
15
16
17
18
19
20
21
22
23
24
25
26
27
28
29
30
31
32
33
34
35
36
class _MainAppState extends State<MainApp> {
  Random random = Random();
  // Random merupakan sebuah liblary bawaan dari flutter
  // untuk memberikan nilai random.

  @override
  Widget build(BuildContext context) {
    return MaterialApp(
      home: Scaffold(
        appBar: AppBar(
          title: const Text("Berkah IT"),
        ),
        body: Center(
          child: GestureDetector(
            onTap: () {
              setState(
                () {},
              );
            },
            child: AnimatedContainer(
              color: Color.fromARGB(
                255,
                random.nextInt(256),
                random.nextInt(256),
                random.nextInt(256),
              ),
              duration: const Duration(seconds: 1),
              width: 50.0 + random.nextInt(101),
              height: 50.0 + random.nextInt(101),
            ),
          ),
        ),
      ),
    );
  }
}

Flexible Widget #

 1
 2
 3
 4
 5
 6
 7
 8
 9
10
11
12
13
14
15
16
17
18
19
20
21
22
body: Column(
        children: [
          Flexible(
            flex: 1,
            child: Container(
              color: Colors.red,
            ),
          ),
          Flexible(
            flex: 2,
            child: Container(
              color: Colors.black,
            ),
          ),
          Flexible(
            flex: 1,
            child: Container(
              color: Colors.red,
            ),
          ),
      ],
    ),

Stack #

 1
 2
 3
 4
 5
 6
 7
 8
 9
10
11
12
13
14
15
16
17
18
19
20
21
22
23
body: Column(
  children: [
    Stack(
      children: [
        Container(
          color: Colors.red,
          width: double.infinity,
          height: 200,
          ),
        Container(
          color: Colors.black,
          width: double.infinity,
          height: 100,
          ),
      ],
    ),
    Container(
      color: Colors.yellow,
      width: double.infinity,
      height: 200,
    ),
  ],
),

image #

Pertama kita perlu membuat folder assets. Kemudian masukan file image kedalam folder assets tersebut.

Folder asstes

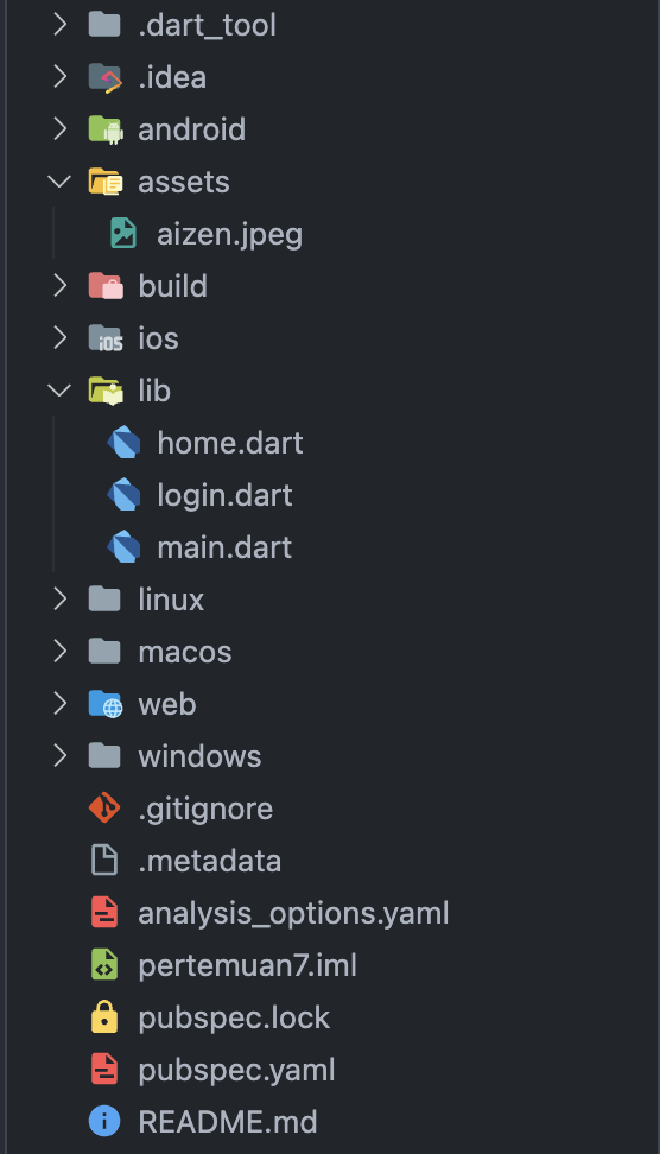
Setelah itu. Kita perlu membuka pubspec.yaml kemudian mengetik nama folder “assets/” seperti dibawah ini :

1
2
3
4
5
flutter:
  uses-material-design: true

  assets:
    - assets/

Untuk memanggil image, kita gunakan widget Image dan menggunakan AssetImage. Kemudian memasukan “namafolder/namafile”.

1
2
3
4
5
body: const Center(
          child: Image(
            image: AssetImage("assets/aizen.jpeg"),
          ),
        ),


Mobile Developer - This article is part of a series.
Part 6: This Article